Our assignment this week revolved around 3 primary tasks:
Clean up the car model.
Add a feature (600 poly max).
Create the UV Layout and PSD file associate with base colors for new texture.

After cleaning up some of the lines on my model, I started working on a heavier bumper for the front end.My first iteration seen here, was kind of clunky. It looked neat, but was too many tris.

I ended up attaching the version shown here. It is a bit too "rigid" for my liking. I will need to play around with it more.

I also reduced the poly count on my wheels from 356 a piece to 276, (-80 per wheel, - 320 tris overall). Reduced entire model w/ new piece included to 3506 tris.
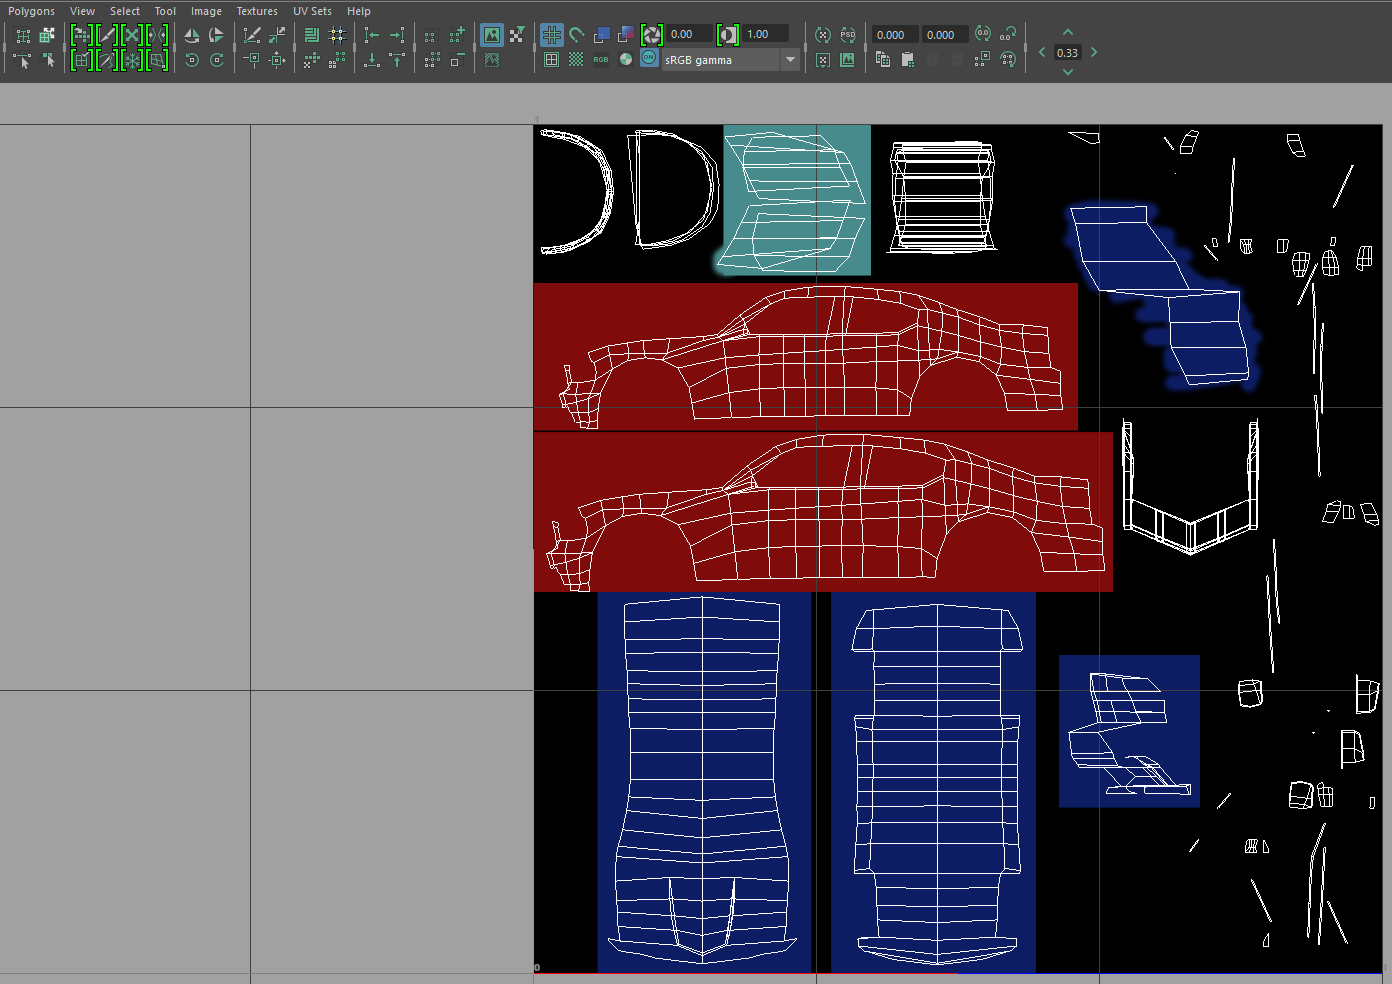
I then proceeded to try and clean up the UV Mapping using the planar tool for the larger chunks and layering similar UVs that would have the same color. I had difficulty getting a handle on all the small extra pieces.

My inspiration for the basic color scheme was the Defiance Charger, I'm hoping I can add some roughness to the textures in Photoshop.

First pass of the UV Map, but I had forgotten the tires!


Still needs some work done, cleaning up the bits and pieces and separating out the mirrors and spoiler.
No comments:
Post a Comment